Monday 22 December 2014

Kaftan Refashion - Listen to your Heart


I found this Kaftan at an opshop yesterday, and it is about to become my second Kaftan refashion in less than a month.


I recognised it as a Tree of Life dress because it had one of these message labels - the message on this garment was 'Listen to your Heart'. 


It was sized as one size fits all, but it was actually pretty big, and it had these off white panels running down each side.  

I initally thought these panels may have been added by someone to make the Kaftan bigger as they didn't actually match the main fabric that well.  But on closer inspection I realise they were actually part of the garments original design.


I would have liked to have got rid of the side panels althogether, but unfortunately it wouldn't have fit me from the waist down if I had.  So I turned the dress inside out and pinned and sewed the panels to about hip level.


Then I turned it back the right way and had a fiddle around with how it should look from the hip down.  I pinned and sewed it so that it looked like the above photo.


Then I turned it back inside out and trimmed off the excess fabric, and finished off the cut edges with a zigzag stitch to stop them fraying.

There was some debate about whether I should leave it the original length or take it up to above knee level.  My family out voted me 3 to 1 to keep it the original length, and I'm pretty happy they did, because I think it turned out pretty good.


I teamed it with my trusty 'bad hair day' scarf, some copper coloured jewellery, and a 'rust' coloured fabric belt.


I love an easy refashion project, especially when it turns out better than I expected.


The sides ended up looking like this.


Yay, it even has pockets.


The jury was out at my place about this item, my husband said it looked too conserative, and for some reason it reminded me of a Singapore Airline uniform.  But after looking at the photos, I think I do actually quite like it.

Kaftan: Thrifted $6, Necklace and Scarf: Hand-me-downs from Mum, Bracelet and Shoes: Old items from my collection/wardrobe, Belt: Hand-me-down.


Saturday 13 December 2014

My First Pants to Dress Refashion

I know this lady, I'll call her Isabelle.  She has a knack for finding owners for unloved and unwanted clothes.  Most people who have a bag of off cast clothing, say 'I've got a bag of stuff there if you want a look through'.  Isabelle however pulls out each item one by one and offers them to the person she thinks the item matches.  What I love about this is that I often end up with clothes I would have otherwise overlooked.


Like these fairly boring and very unflattering pants.


They had these weird zips on the sides that kind of looked like pockets... but weren't, and when zipped up they created a VERY unflattering silhouette.


Yep, these are possibly the most unflattering pants I've ever tried on.  But if Isabelle hadn't pulled them out and shown them to me, I never would have noticed this AWESOME print on the back of the legs. 

When I saw this print I knew that these pants had to become a dress, and that design had to be on the front. 


I didn't really have a for plan how exactly I was going to make these pants a dress, but I knew I needed to open up the inner leg seam.  And because I wanted to avoid or minimise the need to put inserts into the skirt part of the dress to make it wide enough, I needed to retain as much of the original fabric as possible.  So while I would usually just cut out a 'seam' (because 'unpicking' is a faff), in this case I actually unpicked the inside leg seam.


Then I tidied up all the 'unpicked' edges.


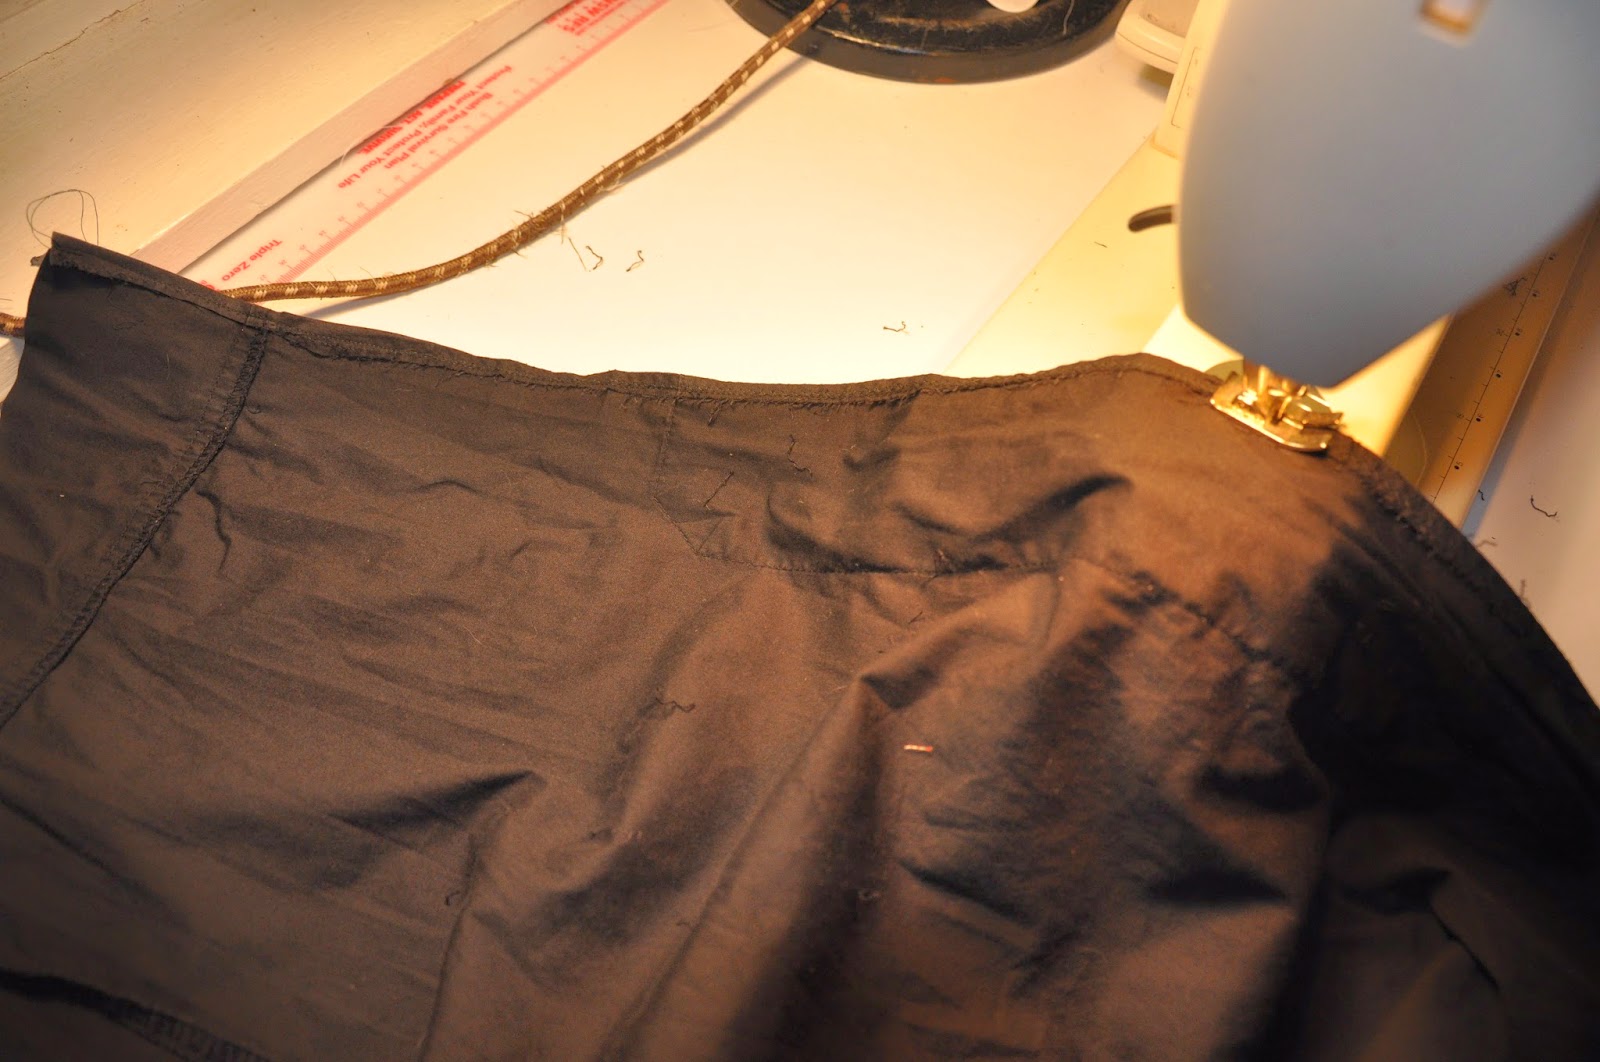
I turned the pants inside out and folded the pants in half and drew this line in chalk to sew along so the dress would sit better at what was about to become the back (the chalk line is drawn from just below the original zip).  I didn't sew all the way to the bottom of what was the legs, as I wanted a split at the back of the dress so that I would (hopefully) have enough movement to walk.


After I had sewn what was now the back of a dress I chopped out this little bit of extra fabric.


Then I turned the 'dress' in the right way and started fiddling around with how I wanted the front to sit.  When I was happy with how it looked, I pinned it together and sewed the two 'sides' together where you can see the pins in this picture.

Believe it or not, this was actually the dress almost completed, and this project went surprisingly smoothly.  It fit me really well without having to insert any extra fabric at the bottom, the length was where I liked it without having to alter the length, and the former waist line was almost a perfect fit for this as a strapless dress - but I don't really like strapless on me, so I'll sort that out in a bit.  So along with adding straps there were just a few little things that needed fiddling with to finish this dress off.


This side pocket was actually quite functional as it now sat just above my hip.  But the 'flap' bit stuck out at an odd angle, so I unpicked it and left the pocket in place.


These zips which made for such an unflattering shape in pants actually looked quite good running up the side of the 'bodice' of my dress.  They were just a bit gapey at the top, so I sewed this fabric flat for a cleaner finish under my arms.

I didn't take photos of how I added the straps because on my black dress form it was impossible to see.  But basically I got a long thin black 'sash' from a top in my refashion stash and had a play around until I got a strap configuration that I liked.


And this is how it looked when it was finished.
I tied a second thin black sash around my waist to create a bit of shape.


Luckily I'm a fan of the 'asymmetrical' (aka wonky) look, as it works well with my slapdash sewing style.


I'm quite liking those side zips, and its nice to have a pocket too.


I know they're not everyones cup of tea, but I'm loving my new'ish' Duckfeet sandals.   

Although I've never really been a head scarf wearing kind of girl, my hair is currently at a really awkward inbetween length that is unbearably hot on the back of my neck on hot days, and I've recently discovered that wearing a scarf is a comfy way to keep the hair off the back of my neck and off my forehead on hotter days - so I'm running with this look at the moment.


I think this could be my new favorite summer dress.

So now for the cost breakdown...

Dress: Hand-me-down $0, Scarf: Hand-me down from mum $0, Glasses: $12, Duckfeet Sandals: Cobblers at Byron $159
 (Yep, I blew the budget on the shoes here - but my wonderful husband got me a voucher for this shoe shop a few months back, after I complained about not being able to find any second hand Duckfeet boots anywhere in the world on eBay.  By the time I got around to redeeming the voucher, it was too hot for boots, so I got Duckfeet sandals instead).  


Saturday 6 December 2014

'Summer' Scarf to Girls Top

A few months back I made a winter vest out of a scarf for my daughter. 


When I was given this 'summer' scarf last week, I thought it would be another good scarf for a girls refashion. 


The design I had in mind was fairly easy, so my 7 year old was able to help. 

 First up we cut some length off the scarf.  

I will admit that at this point I hadn't nutted out in my head exactly what we were doing.  As a result we cut off too much fabric, and had sew some of the offcuts back on later.


We chopped off the tassels.


Then I got out the trusty jumbo chalk to help me work out how the neck and shoulders would sit.


After cutting around the chalk lines, I zigzagged the edges to stop them fraying before pinning and sewing the two piece together.


After I sewed the fabric back onto the bottom that I had cut off in my haste at the begining of this project, we sewed the side seams, and hemmed the bottom.


Done.


Colour blocking?


Checking out her bunny before heading out for the day.


We had a wonderful day out with friends at the Lismore Makers Market.  This perfectly matching headband was purchased for just $4, and there were lots of other things on offer for little girls, from which my girls chose a cute fairy garden necklace and a felt hair clip.

I was so glad we were invited to attend these markets as I'm not sure I would have made it along otherwise.  What amazing, inspiring, and creative people there are in the Northern Rivers of NSW.  My favorite 'Makers' included potters, a lead light'er', and a variety of jewellers working with a range of mediums, including; resin, wood, silver, and ceramic - I wish I could have gone wild and financially supported all these amazing 'creaters'.

Sunday 30 November 2014

Skirt to Halter Neck Top


Too big thrifted cotton skirt, paired with some fabulous bed hair.


The style was pretty unexciting, and I prefer to wear patterned fabric up top, so my plan was to make this into a top.  I'm thinking a halter neck at this point.


I cut down the side seams.


At the back, I cut off some of the length (to make the back of the top lower), and I also cut some fabric off at the sides.


Then I popped it on my dress form upside down, and wrapped the front skirt 'hem' around the neck and pinned the material together at the back of the neck to work out how I want the neckline to sit.  I also cut off some excess material from each side at the front.


I then sewed the fabric together at the back of the neck - the neck is big enough to just slip this over my head.


And I sewed the sides together.


At which point it was looking something like this.


I thought it was looking pretty good.  But when I tried it on, that waist band looked terrible on me.


So I chopped it off.


After I chopped off the bottom, the hem hung all wonky, but I decided I kind of liked it this way. so I just hemmed it as it was.


This is how it looked when it was finished.  


The neck can be styled a couple of ways.


I chose to wear it crossed over and pinned with my Grandmothers broach.  

Hmmm, looking at these photos I think I got a little sunburnt while I was out and about today :-(.


As the weather was slightly cooler than it has been recently, I was able to team it with this long wrap around skirt I've had for years.

Skirt/top: $4 Lifeline, Skirt: $? Tree of Life.