Wednesday 29 July 2015

A week of 'making', with a 'refashion' popped in...

All sorts of fun creative projects were undertaken in my household this past week...


My daughters and I had fun making delicious smelling chocolate and orange stick deodorants from all sorts of lovely natural ingredients.  And I had a bit of fun 'styling' and photographing this, so much easier than being in front of the camera myself.


And with my mums 70th birthday on Sunday, my nearly 8 year old designed and made (mostly directed me in making) this bag, which is made from fabric offcuts as a birthday present for 'Nanna'....


Necklaces were also constructed by the girls as birthday presents, using ceramic pendants they made a few months back.


While creative hubby was at it again making unique silver pendants (the one on the left was given to mum for her birthday).


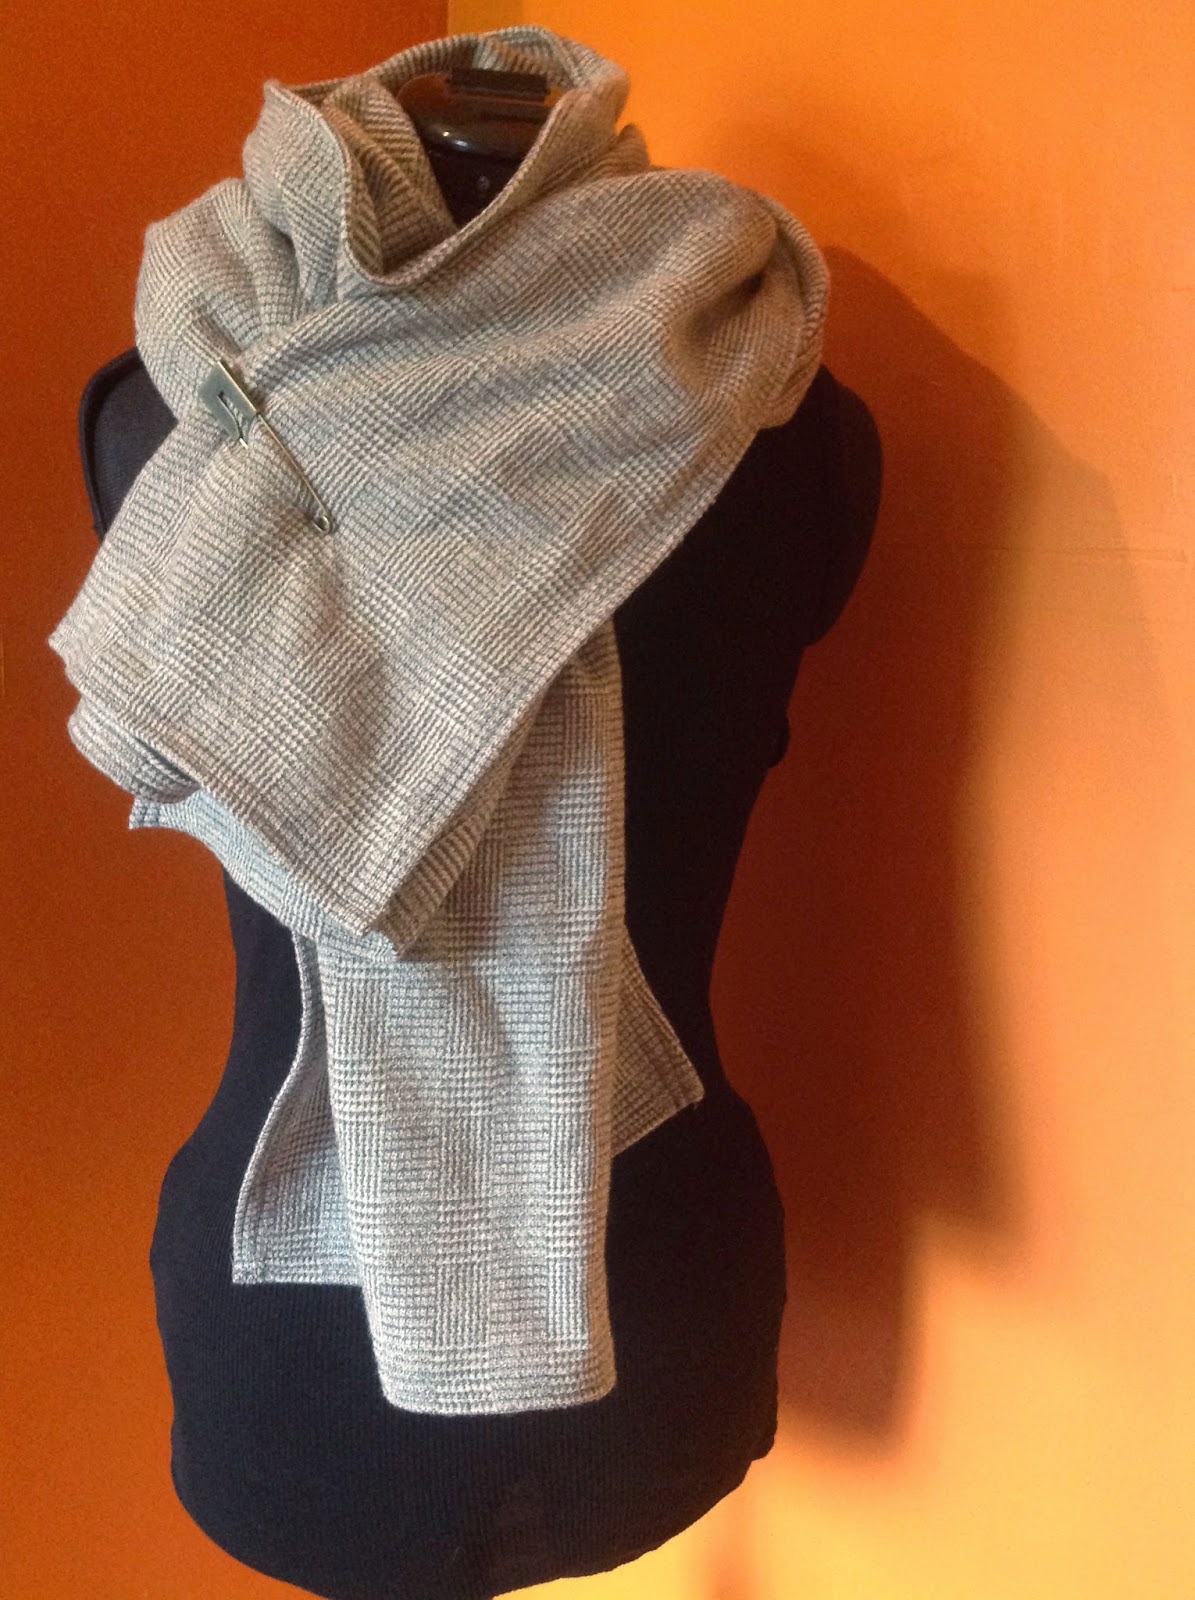
While I made mum one of these Dogstar inspired items, which can be worn as a scarf, shawl or skirt.


And in between all these other projects, I am also picking away at the epic task of making a patchwork denim quilt cover for my 10 year old.


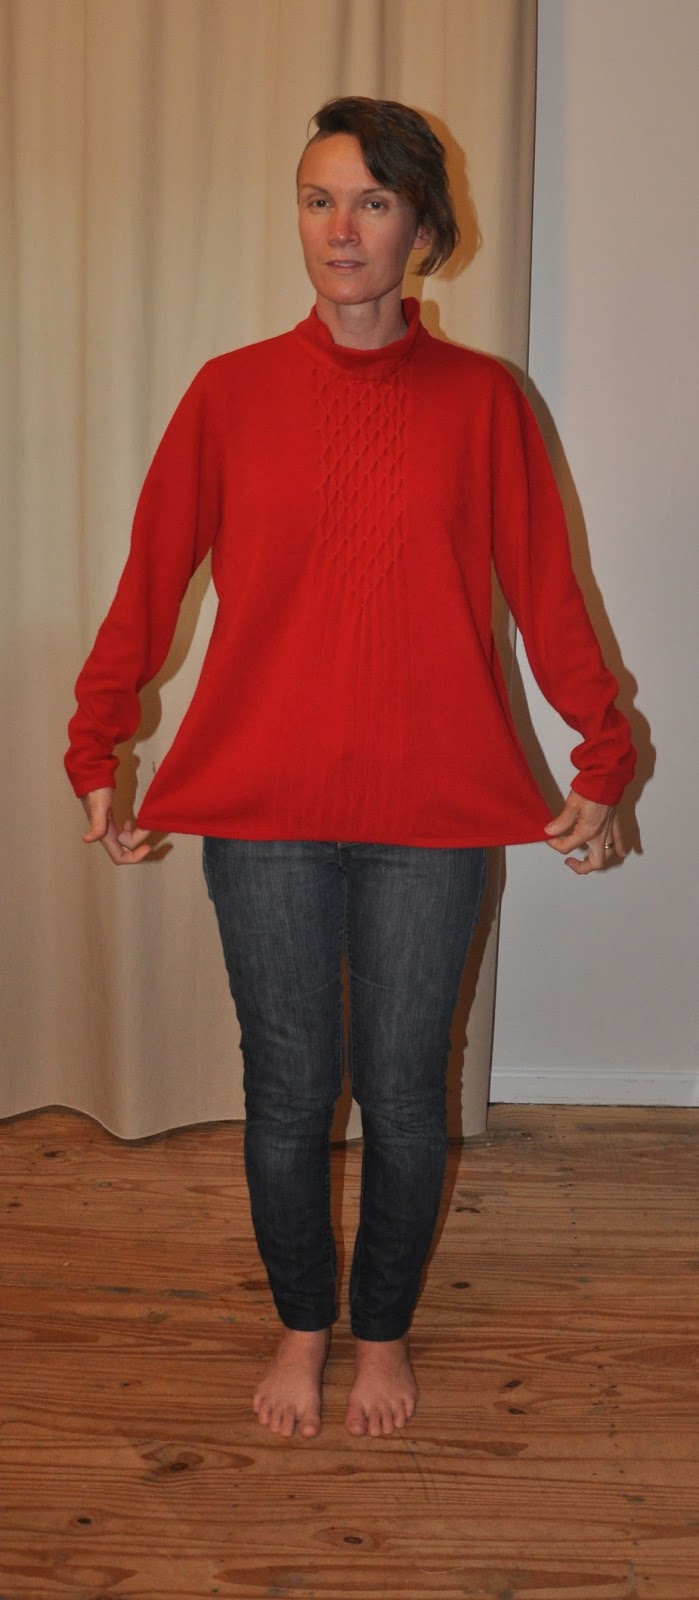
But for my refashion, I undertook a simple 'pashmina' project.


'Faux-mina' might be a better description, but I didn't really care about its authenticity when I picked it up at an opshop last winter for $2 - I love the colour, so I am happy to overlook it not being the real deal.

And after rediscovering it in my wardrobe over the weekend I had the idea to turn it into a 'drapey' cardigan - I love 'drapey' cardies, in case you hadn't already noticed.


So I folded the 'pashmina' in half and marked a line down the centre.
Then I measured 1 third of the way down from the top, and drew a line the width of my shoulders. 
 Near the end of each 'shoulder line', I drew circles using a small bowl that I thought appeared slightly larger than my upper arms.


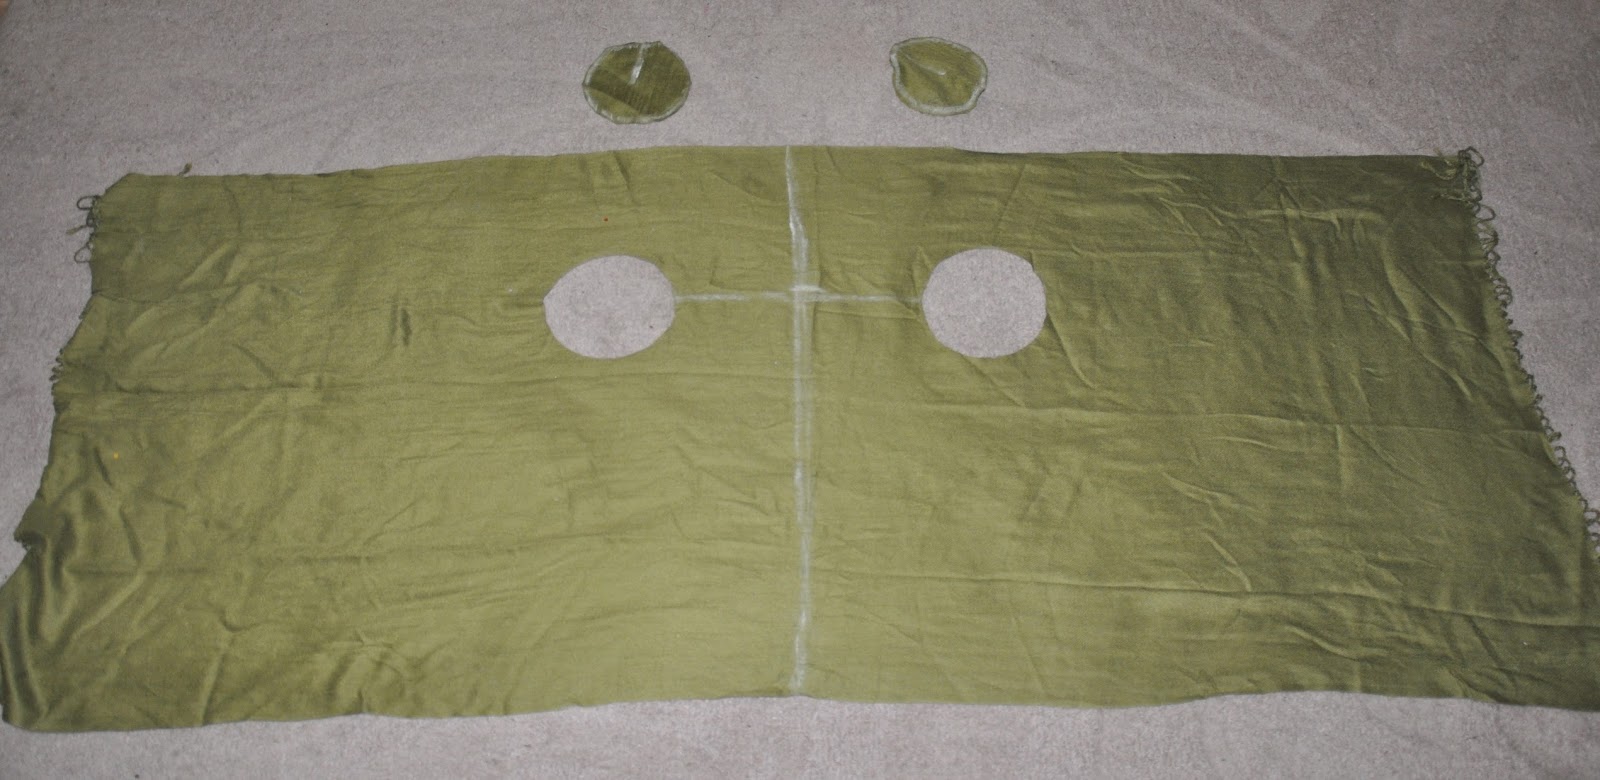
Then I cut those circles out.


 I then folded the cut edge over twice and sewed around each arm hole to stop fraying.

I would normally zig-zag a cut edge like this before hemming with a straight stitch, but I only had a small amount of cotton that matched this fabric, so to preserve the cotton I skipped the zig-zag step this time around.


This is what the arm holes looked like once they were finished.  They shouldn't have any problem with fraying because of the double fold I used when stitching.


At this point you could call this DIY completed.  


But as I am not a tassle sort of gal, the tassles had to go.  And after chopping them off, I sewed these edges the same way I did the arms holes.


This is my favourite type of refashion, it was super easy, and I've ended up with an item which can be worn in so any different ways.


If you just slip your arms through it looks like this, which is a little boring, but from here you can do the following...


Pop a belt on...


Or pin it up like this.


And then pop a belt on.


Or pin it off to one side, like this.


Or if you take it off and put it on upside down, you get this look.


And if you wrap the ends around when it is on upside down you get this crop look vest thingy.

I'm sure there are other ways to style this that I haven't yet discovered, but I love the options I have discovered so far.  And I will certainly be keeping an eye out for more pashminas in the opshop from now on in, as I would be happy to have a few of these in my wardrobe.


Pashmina: thrifted $2, Black jeans: thrifted $4, Stripped top: thrifted $4, Belt: thrifted $2,  Boots: Ebay $120? (last season, I think that is what I paid),  Dogstar Kilt Pin: (Not shown in the above 'before' and 'after' photos) - I noticed recently that you can get kilt pins very similar to the Dogstar ones  from Lincraft for about $6. 


Sunday 19 July 2015

Shrunken Jumper Upcycle

After my late birthday present last week, I've felt inspired to do a few decorating type projects to make my house feel a bit more homely.


I started with this jumper, which I bought from a yard sale in the middle of summer for about $5.  A couple of weeks ago I chucked it in the wash, and it changed from a large comfy oversize knitted top, into a felted top too small to fit over my head.    


So I decided to make it into a cover for this old Ikea cushion.


I chopped off the sleeves and the bottom of the top.


Then I chopped open the neck line so I could sew the zip into this edge.


I bought the zip from Lincraft for $1.75, and pinned it to one side like this.


Then I sewed it in place using a zipper foot on my sewing machine.


And repeated this process on the other side.


When it was sewn in, it looked like this.


Because this 'felted' knit was kind of stretchy, rather than just measure the cushion and cut the fabric to fit, I pinned it around to cushion to work out where the seam opposite the zipper would fit.  This way I would ensure the cushion cover would have a nice snug fit.


To finish up the cushion cover I repeated this process when sewing the two end seams too.  
When inside out like it is here, it looks a little wobbly, but once it was turned in the other way it fit the cushion nice and snuggly.


And lookie here, I have a one of a kind cushion.


It looks ever so slightly different turned up the other way ;-).


And with the off cuts I made this beanie for my hubby....


And this one for me.

Saturday 11 July 2015

Rustic Re-furnish?

I didn't manage to get any sewing done this week, so no 'refashion' to share today.  However, I do have what could be called a 'refurnish' to share.

A few years ago we bought a terrible, but cheap house purely for its location, and the lure of downsizing our debt.  The problem with this has been that for the past few years we have been in limbo not knowing whether we would be best to demonlish the house and start again from scratch, or renovate the existing house.  As a result we haven't bothered to try and make the current house our home, resulting in horrid furnishings, like our TV sitting on a cardboard box for the past 2 years.

I've become tired of this situation lately, and despite a decision finally being made to undertake a renovation, I've felt the need to make the house feel a little more homely straight away.

Lucky for me I have an incredibly talented husband who can make, build, or fix anything he turns his hand to.  Sometimes he even humours me and makes something I request ;-).  So when I requested a chunky rustic 'homemade' TV cabinet for my birthday a few months ago, he couldn't refuse, and we turned to our backyard to find the materials.


I spotted these hardwood sleepers a few years back buried within a huge fire pile in our yard and had to rescue them (or should I say, I had to make my husband rescue them).


I wasn't sure at the time what they would be used for, but I've always been a sucker for 'rustic' timber finishes, and I was sure we could turn them into something amazing (well, I was sure that my husband could turn them into something amazing, because my creative skills aren't quite as extensive as his).


And then there was this pipe that was kindly donated to us by our neighbour about a year ago when he realised we had an interest in making 'industrial' furniture.


And as I suspected, my husband was able to turn that dull old timber and rusty pipe into something that I love.


I love all the different colour variations and textures in this old wood, which we finished with bee's wax after the timber had been put through a thicknesser.


Hubby choose to leave the pipe its natural rusty patina.


I love my furniture on castors as it makes it so much easier when it comes time to clean under and behind large items.  This piece required 6 castors because it weighs a tonne.


I'm thrilled with the finished product and am so glad to see the back of the cardboard box that served as our TV cabinet for so long.  Now we just need to fix the house up to make it match the new TV cabinet.

And last but not least, thanks so much hubby for making this amazing one off item for me.


Thursday 2 July 2015

Sweater Refashion

I continue to scour the opshop for coloured items to add to my too grey winter wardrobe.


So when I came across this rather bland, but fabulously red jumper, I couldn't pass it up.


Winter crop tops seem to be my latest wardrobe fad.  So to make this a crop I measured about 21cm up from the bottom hem.


And cut off the bottom.  But don't fret, that offcut will be used.


This top was acrylic and I wasn't sure if it would fray or not so I zigzagged the cut edge just in case.


When I hemmed this I used a zigzag stitch (because the fabric was stretchy) along the cut edge so the inside would have a tidy finish.


But as you can see in this photo, the bottom edge was bulgy.  So I ran another zigzag stitch along the bottom of the hem to flatten that bulgy edge.


Because of the stretch of the fabric, once I had sewn the new hem, the top flared at the bottom.  I didn't mind the flare at the back, but at the front it looked a bit odd, so I added these little pleat thingies to make it sit better at the front.

You can't really make this front detail out in the other photos - I think its a nice feature.


Then, too give this crop a more tailored look I also decided that the arms needed to be narrower.  I turned the jumper inside out and drew a line where I thought the new arm seam should be.


I pinned the arm flat before sewing along the chalk line.


Then I chopped off the excess fabric. 

You can also see here that I didn't take any width from the body of the sweater as I wanted it to be a wide fit.


The jumper was now complete, but what became of that bit I chopped off the bottom?

Well, I finished the cut edge of the offcut off in exactly the same way I did the bottom hem of the jumper - to create what I guess would be described as an 'infinity' scarf.  My thoughts behind this idea was that the original neck line was a little boring, but I didn't want to cut into it because of the way this fabric stretched once it was cut and hemmed.   So to add interest to the neck line, I just popped on my matchy offcut infinity scarf while wearing my new jumper.


I try not to use filters on my photos, but for some reason most of my 'after' photos on this one were washed out, so I couldn't resist brightening this photo up.


I don't know why I'm looking at my feet.


Sometimes once a 'refashioned' item is finished I realise they aren't actually very comfortable.  That was not the case with this one, which stood the comfort test of a full day out and about at kids activities, grocery shopping, and then a family dinner out.


I like this splash of colour with my winter greys and blacks.


Refashioned Jumper/Sweater: Thrifted, $4; Dress: Thrifted, $8; Singlet: Wardrobe item; Boots: My trusty Gumtree Dr Martens, $30.