Tuesday, 25 November 2014

Kaftan Refashion

I found this equally awesome and ridiculous kaftan at an op shop a couple of weeks back.

It wasn't a great cut, and it was also too short to try keep it as a dress.

After deciding I didn't really like maxi-skirts anymore and refashioning most of the ones I owned into other things herehere and here over the past couple of weeks.  Its kind of ironic that I decided that this kaftan would make the perfect maxi-skirt.  But I really wanted a design that would maintain as much of the original fabric as possibile, and also be in keeping with the era of this piece.


Because I was going to create a high-waisted skirt, I didn't have to cut off too much fabric from the top.


I took in the sides.  This picture also shows how this home made Kaftan had already had some alterations done to it before I got hold of it.


Rather than using a matchy matchy zip, I opted to fit this zip to the skirt as I like the way this style of zip looks with vintage fabric.  


I fitted the zip to the side seam, and this is how it looks - despite actually getting the iron out for this part, the zip fitment is still a little 'rustic' looking.  But I'm still happy with it as I only learned how to put zips in recently by watching a YouTube clip.


After taking in the sides and fitting the zip, the top of the skirt now looked a bit like this.  When I tried it on it just didn't seem right - all that pale blue fabric made the skirt feel a bit pajama like.

I decided it needed a waist band that tied in with the 'blackish' leaf pattern that runs up the center of the skirt. 


And I had the perfect thing in my offcut stash - these sleeves, and this collar that were left overs from a previous project.  


These are going to make the perfect waist band as they are already stiff, so I don't need to worry about putting any stabilizing fabric in.


I was really happy that the collar was the perfect size for the front part of the waist band.


I pinned the shirt collar to the front of the skirt and the cuffs to the back of the skirt (the messy edges you saw in the previous picture are folded over the top and into the inside of the skirt), and sewed them on.  


Done.
Although I was a little apprehensive to cut into this piece at the begining I'm pretty happy with how it turned out.


I like how the waist band finished off this skirt by giving it a bit of structure.


I can't usually wear high-waist items, but it seems to work with this fabric.


My daughters are a little over being my photographers these days, so it is hard to get photos where either my head or feet aren't chopped off.  Or where I'm not wearing a weird expression while watching the non-photo taking child out of the corner of my eye.


Overall I'm pretty happy with this, and I like the way the high waist is in keeping with the retro fabric, I'm also glad we finally had a day cool enough to finally wear this.

Kaftan/Skirt: Lifeline $6.50, Black Singlet: Hand-me-down $0, Button Necklace: $15.


I didn't think I would see another Kaftan any time soon, but a month later I get my hands on  another Kaftan.


Click here to see how this one turned out.


Tuesday, 18 November 2014

Simple Kids Winter to Summer outfit

As much as I like making 'pretty' dresses for my girls, they are pretty active kids who require lots of practical clothes.


With temperatures rising, this winter combo was not going to see any use for months, after which time those legs and sleeves would be even shorter than they already were.  So shorts and a teeshirt were the order of the day for this simple refashion.


Chop.


Hem... zig-zag so the fabric can still stretch.


Done.


Chop, chop...


Curved snip, for a bit of interest at the sides.


Two different coloured cottons for the leg hems to match the original stitching.   And these two basic refashions were complete.


These clothes were intended as play clothes on active days. So here are some after photos with these clothes being put through their paces.


After swimming lessons we stopped at a park for a fruit break and a play before heading to Karate.


With food finished it was time to race off for a quick play.  Check out that wild wet hair drenching her shirt.


These stolen moments at parks and playgrounds between activities are where I usually collect myself between the madness.  Yes, I am that mum at the park checking emails, texting, or just sitting quietly alone while her kids go off and play.


On this day however, I was chasing them about trying to catch a photo that wasn't completely blurred as they raced from one side of the park to the other ;-).

Back to the car we headed, off to Karate.  What a crazy busy day we had this day.

Saturday, 15 November 2014

Busy Plaid Dress


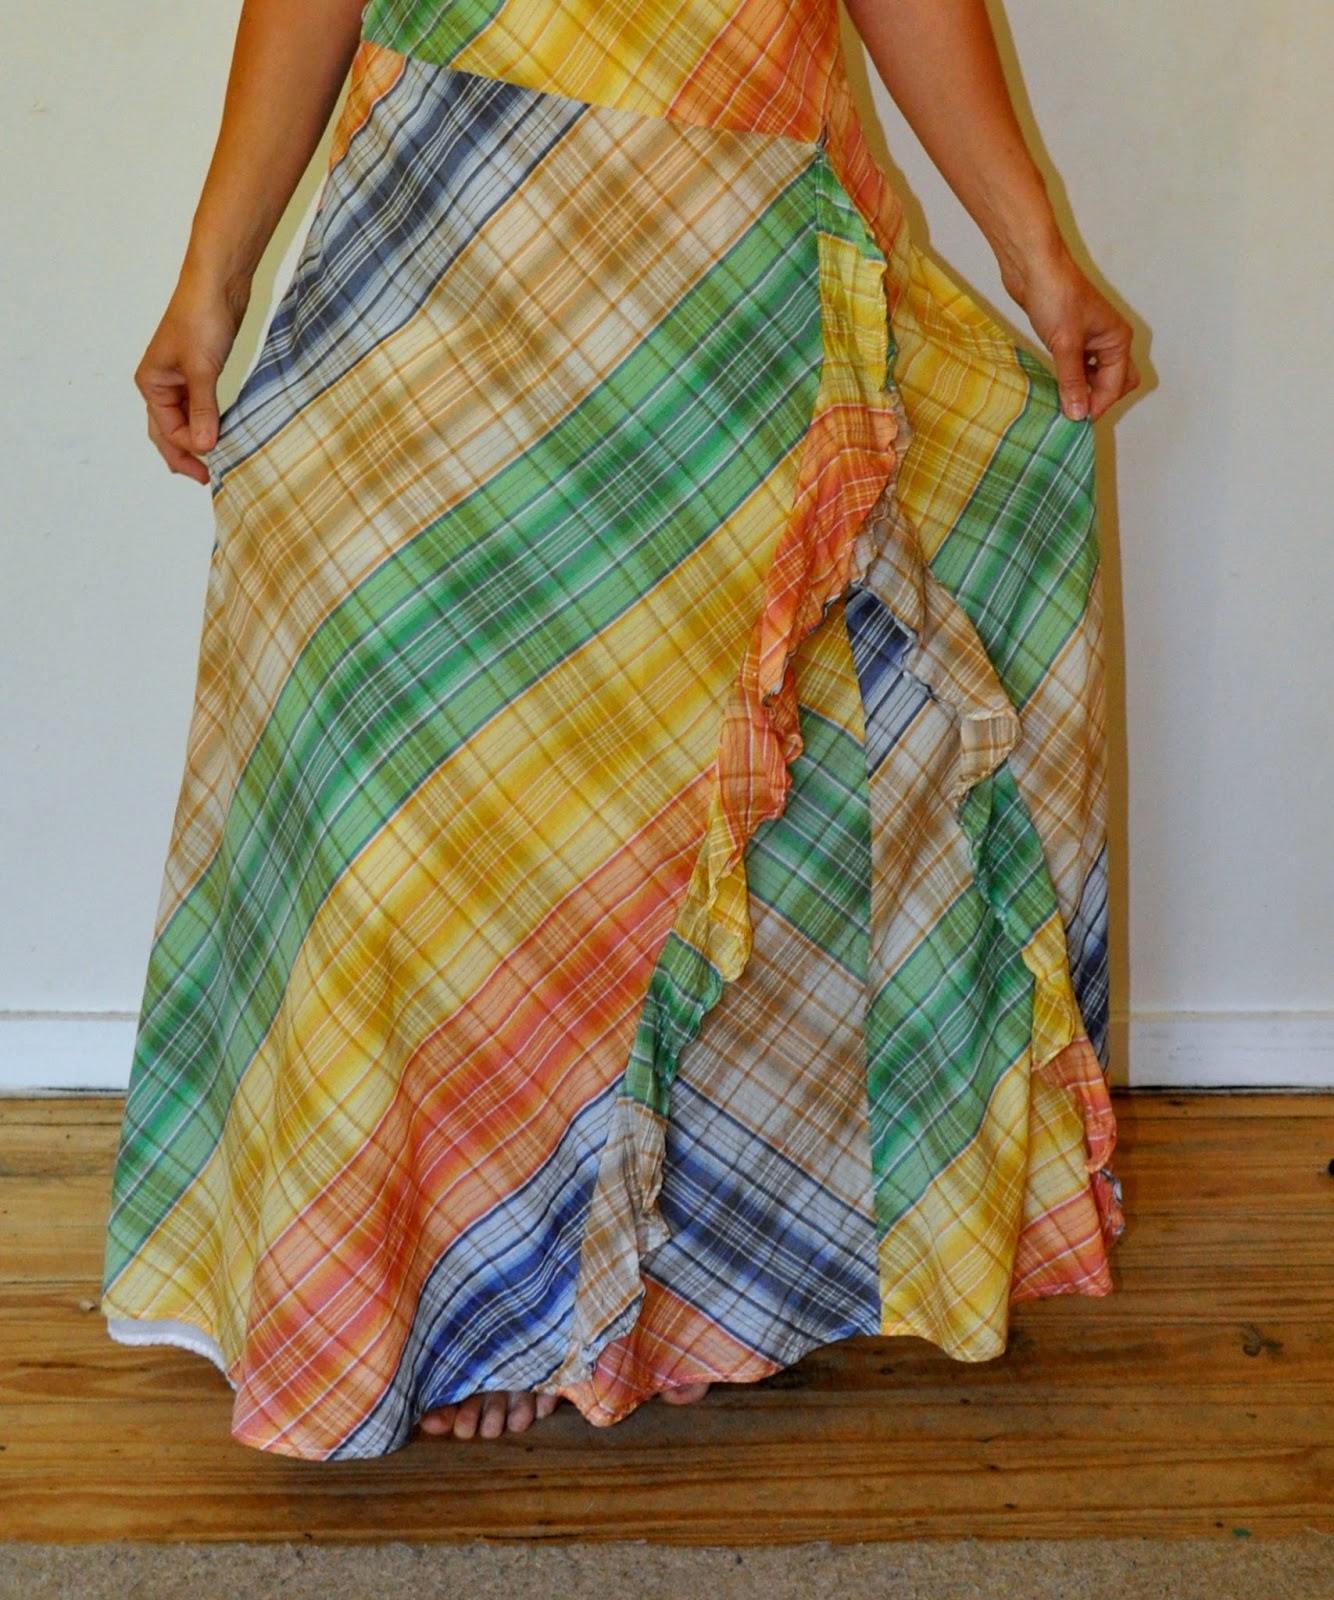
This dress has a lot going on, and I don't know what I was thinking when I forked out $6 for it last week.  There didn't seem like there was much potential here -  I didn't like the fabric all that much, and the neck line is well... not great.


And look at this weird ruffly bit.


But then I remembered when I looked at it in the mirror at Vinnies, I had held it up back to front.  So I popped it on backwards, and was reminded that this neckline was what had appealed to me.


So I set to work turning what was the old front of the dress into the new back of the dress. 


I had an open back in mind, so I chopped out a heap of material.


And tidied up all the edges so it looked like this.
But when I tried it on, the open back didn't sit well at all, so I decided to close in the back by adding a big 'patch'.


To do this I needed some fabric to make a patch with, so I chopped a heap of fabric off the bottom of the dress, as I intended to shorten it anyway.


I sewed the 'patch' in place to close in the open back.


Then to make it fit properly I took about 2 inches off one side of the dress (the other side had a zip I wanted to keep).  And I also added darts to each side of the now front of the dress so it would fit properly.


I chopped off those awful ruffly bits, and then hemmed it.


Given that I didn't like the fabric all that much, this dress turned out better than I had expected.   


Its got a kitsch-iness about it that I actually quite like.  I would have liked to have teamed it with white shoes and some white 50's style sunnies, but I don't have either, so these glasses and shoes had to do. 


Its even quite comfy, given that the top half of it is quite tailored in its fit.


I teamed it with this vintage necklace that once belonged to my husbands great aunt.  


Hangin' with my pooch before heading out for the day.


So the cost. Dress: second-hand $6, Vintage necklace: $0, White Shell Bracelet: I think this belonged to my sister in the 80's, so I'd have to say $0 on this one, Shoes: I can't remember the cost of these ones.

I've recently set up a Rustic Refashion Facebook page, so please pop on over and 'like' it, you can do this by clicking the link on the top right of this page, or just look up Rustic Refashion on FB.  I'll be popping other bits and pieces on the FB page that won't always be included in the blog posts.


Tuesday, 4 November 2014

Inspiration Dogstar - summer refashion

I mentioned a few months ago how much I love the style of Brissie design house Dogstar, and that I would be doing more Dogstar inspired refashions in the future, but haven't.  Well I have, I just haven't blogged about them.  But this past weekend I worked on two items inspired by Dogstars summer collection including their Fragmented summer pants.  I would include a photo here of the combo that inspired this refashion, but I'm really not sure about the legalities of sharing advertising photos on this little blog, so you'll just have to check out their awesome clothes yourself on their website www.dogstar.com.au or like them on Facebook ;-)

Aside from being inspired by Dogstar, this post also includes my 3rd maxi skirt refashion in as many weeks.


In yet another stunning before photo, I am wearing the Maxi skirt that will become trousers, and 2 tops - I hadn't yet decided which one I would be refashioning.


I started with the skirt first.  Another cheap Valley Girl item.


First up, I had to decide how far up I was going to cut up to in the front and the back of the skirt to create the two legs.  Now many of you will be aware that trousers are not simply skirts cut up the middle, so when doing this project you really need to leave a low 'drop' in the crouch to allow enough room for it to work.  I marked the point I was going to cut up to with chalk first and hoped for the best.


So after chopping the front and rear, the skirt now looked like this.


Before sewing the legs up, I chopped some fabric off the length as I wanted these pants to sit above the ankle.


Then I pinned the new seams together.


And sewed my skirt into pants.


Only problem now is they looked like too short pyjama pants.  This was not the look I was going for.


So I took some width off each leg to create a more tapered look.  Now, I must admit this was a lot of faffing about, and it took me quite a few alterations to get the look I was trying for.  But I finally got them to a shape I was happy with, and moved onto the next item for this 'outfit' (you'll have to wait till the end of this post to see both finished items).


 By this stage I had decided to refashion the black drapey cardigan as it had more fabric to work with.  This top had belonged to my mum and was made of a lovely silk, but is actually a couple of sizes too small for me.  I discovered while trying it on that silk has no give at all, so being a few sizes to small for me I could barely move my arms in any direction.


My solution - chop the sleeves off, I don't need them at this time of year anyway.


This top was going to become a singlet top of some sort, so I popped it on the dress form to have a play with how to make that happen.  I quite like this asymmetrical style, which is in keeping with my Dogstar theme of the day.


To create the assymetrical look, I cut this much fabric from one side of the 'drapey' cardigan front...


And this much from the other.


Sewed up the raw edges.


Then I pinned it together like this, and sewed along the edge with all the pins, leaving the bottom part loose.


And ended up with this combo.


Remember how it looked before?


Much better I now I think.

Flower silk top: hand-me-down c/o mum $0, Valley Girl Maxi-Skirt/now trousers: old item from my wardrobe $0, FCUK Sandals: Ebay $28.00, Glasses: Beachside Bargains (Evans Head) $12.00, Handbag: old favourite, I've had this bag for nearly 10 years, Bracelets: from my collection.

Thanks for visiting my blog :-)